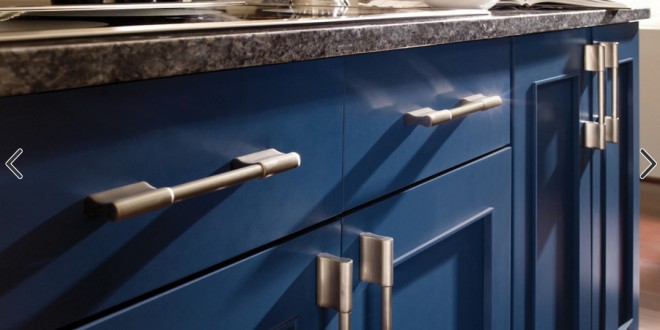
Kitchen and bathroom remodels come with a plethora of decisions to make. From cabinets to floors to counters to appliances, the decisions can seem endless. Once your customers choose the perfect style and color of cabinet hardware, the decision-making continues; next comes deciding where to place the hardware on their cabinets. To help them with that decision, share these best practices.
Pulls
Traditionally, cabinet pulls go opposite the cabinet hinge, in the bottom right or left corner of the cabinet door. The bottom of the pull should be lined up with the bottom of the cabinet door rail if there is an inset in the cabinet door. If the cabinet door is flat, be sure the pull is equal distance from the bottom and side of the cabinet door, generally 2 inches. On cabinet drawers, center the pull on the drawer.
Knobs
For a classic look, install the cabinet knob above the cabinet door rail. The modern placement for knobs is centered on the bottom right or left corner of the cabinet, whichever is opposite the cabinet hinge. On cabinet drawers, center the knob on the drawer. Depending on your customer’s preferences, they can choose all knobs, all pulls or a combination of both. A popular option is pulls on the drawers and knobs on the cabinet doors.
Other Tips
- Use putty to temporarily install the knobs and pulls to see how you like different placements.

- Purchase a cabinet hardware template to help with placement and assure each pull or knob is installed evenly. These templates would be great add-on items to include in your cabinet hardware section.
- When updating old cabinet hardware, add a back plate to hide old pull and knob holes.
- For knobs, add thread sealant to the screws to keep the screws tight and the knobs from turning.
- Double check door alignment before installing knobs on side-by-side doors. Most newer cabinet hinges allow you to easily adjust the door so side-by-side doors are perfectly aligned.
- For customers installing new knobs or pulls, educate them about the add-on items they’ll need, including proper-size drill bits, a square, a screwdriver and a tape measure.
 Hardware Retailing The Industry's Source for Insights and Information


