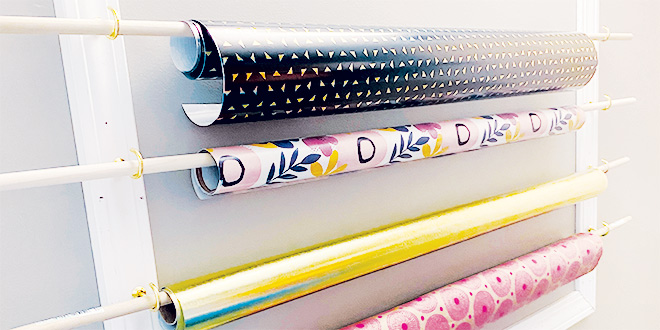
From holidays to birthdays, wrapping paper can be hard to keep neat and organized. Help your customers turn a blank wall into a functional wrapping paper organizer with this DIY project that also adds visual interest to any space.
Click here to download your Project Point Package for this DIY today.
What’s in Your Project Point Package
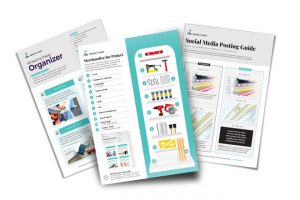 DIY Instructional Guide
This downloadable and printable PDF makes it easy to share this project with your customers. The guide includes step-by-step instructions, a supply list, necessary tools and color photos of each step. There is also a editable version to include your company’s logo and information.- Merchandise Planogram
The merchandise planogram lists all of the supplies and tools a customer would need to complete the project. It offers suggestions on how to display and merchandise the supplies and tools so you can easily promote and sell the project to your customers. - Social Media Posting Guide
The social media posting guide provides everything you need to share this project on your own social media channels. The guide includes suggested copy for Facebook and Instagram, project photos and customizable posts to fit your company’s branding and needs.
Supplies You’ll Need
- Casing/Trim
2 – 7-foot pieces, any style - Dowel Rods
4 – ½-inch by 48-inch - Cup Hooks
8 – any color - Nails or Brads
- Paint
- Caulk
- Saw
- Speed Square
- Paintbrush
- Drill
- Nail Gun or Hammer
- Level
Click here for step-by-step instructions or to download a PDF.
All Wrapped Up
See what gift wrapping products you should be stocking so your customers can give gifts year-round here.
 Hardware Retailing The Industry's Source for Insights and Information

